My Etsy shop

Tuesday, 9 August 2016

Vacuum chamber & stabilised redwood burr

Vacuum chamber & stabilised redwood burr 


I have been using a homemade steel vacuum chamber to stabilise soft and punky woods for a couple of years now

Metal vacuum chamber

Although it works OK trying to see what is happening by looking down onto the surface of the resin is difficult.

I buy and use Cactus juice stabilising resin from Turntex woodworks in Texas, USA and decided to take the plunge and buy a chamber too.

Chamber from Turntex woodworks.
I had some really highly figured redwood burr that I wanted to use to make turned boxes with but I knew from past experience that the burr is too soft to cut cleanly without stabilising.

highly figured redwood burr
The burr was covered in wax and wet when I bought it so I roughed out one piece in April 2016 and set about slowly drying it as to stabilise wood the wood must be bone dry


I had the burr ready by late July so I put it and a few other pieces into the chamber

First batch in the new chamber before adding resin

I had a new batch of cactus juice so I added 3/4 of a US gallon into the chamber. 

Initial forming of air bubbles


When you first pull vacuum you the air bubbles coming from the wood can be extreme and can rise up the chamber towards the lid and can enter the tube leading to your pump if your not careful!! so you have to control this with a bleed valve and then after a the first few minutes you can shut the valve and be at full vacuum.


the advantage of the clear chamber is being able to control & monitor the process


  You can see the air being pulled from the redwood burr blank


 After 3 hours of vacuum being pulled the air bubbles stopped, (the time under vacuum varies) 
If there is any moisture in the wood you will get small champagne type bubbles and they will take hours and hours to stop so it is really important that the wood is bone dry
I put a piece of masking tape onto the resin level before releasing vacuum.

The resin needs to be at least an inch above the surface of the wood before you release vacuum if the wood becomes uncovered in the initial release of vacuum it draws air back into it and you have to start all over again.

26mm change 
One minute after releasing vacuum the resin had dropped by 26mm

Normally you leave the wood in soak overnight then cure it the next day but i was advised that redwood benefits from a longer soak so I left everything in the chamber for 1 week

31mm change

After 3 days the resin level stopped dropping and stayed 31mm away from where it started.

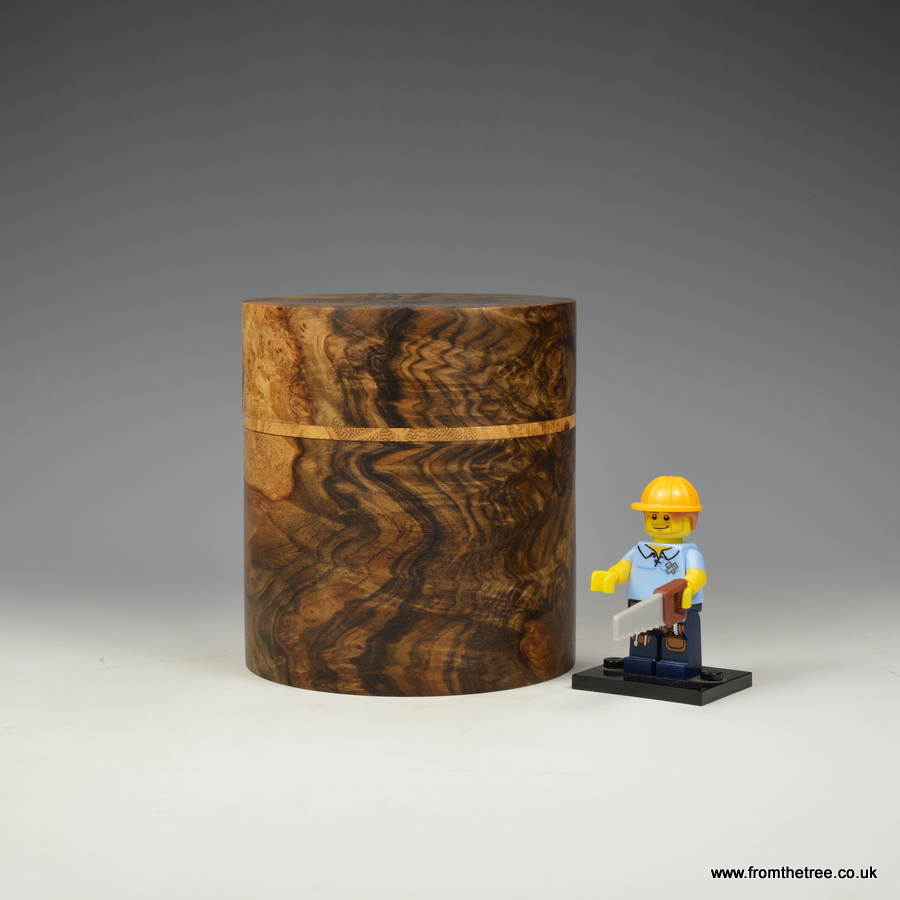
here you can see some before and after pictures showing the weight increase and the figure in the redwood burr blank once it had been cleaned up.
redwood burr before stabilising

walnut before stabilising

redwood burr after stabilising

walnut after stabilising


Thursday, 4 August 2016

Eccentric woodturning chuck

Eccentric woodturning chuck


I have been interested in eccentric turning for quite some time now but have never took the plunge. That changed recently when a friend of mine Richard Findley posted a picture on his instagram of an eccentric pattern that he had made using the axminister eccentric spiralling chuck.

So here is my first few goes with the chuck and initial thoughts.

The instructions provided with the chuck are useless but thankfully there is a YouTube video showing its basic principle so that was where I started.

after watching the video I thought that it was going to be tiresome to keep removing the chuck and undoing the allen key, but it wasn't that bad with each one of the following examples taking about 10 minutes to complete. 

After screwing on a scrap piece of wood my first try was with an offcut of black and white ebony which was glued to the scrap.


1st try

1st try

my next try was a little different as I put a smaller deeper pattern in the middle then a shallower pattern around the outside

after the first stage

completed 
next I tried a piece of olivewood
olivewood
I have enjoyed using the chuck and think that i will use it on the top of turned boxes.


Tuesday, 26 July 2016

Repetition can be boring but...

Repetition can be boring but....


I think that repetition is an important but often overlooked aspect of woodturning.

Allot of new woodturners  (and I was the same) will try to make lots of different things in single's/one off's and will often make a bowl in the morning then a box of whatever in the afternoon.

This is totally understandable but I believe that if you want to improve at any aspect of turning you need to work in batches.

I think that working in batches is important but yes it can be boring :-)

Here is a recent batch of boxes I made with internal lids, I will post them in the order that I made them.

Masur birch box with African blackwood lid

Masur birch box with African blackwood lid

Masur birch box with African blackwood lid

Masur birch box with cocobolo collar and masur birch lid

Masur birch box with cocobolo collar and masur birch lid

Masur birch box with cocobolo collar and masur birch lid
Thuya burr box with boxwood internal lid
Golden madrone box with thyua burr internal lid

Golden madrone box with thyua burr internal lid

Golden madrone box with thyua burr internal lid

English walnut box with acacia burr internal lid

English walnut box with acacia burr internal lid

English walnut box with acacia burr internal lid


Saturday, 16 July 2016

Woodturning photography

Woodturning photography

Trying to freeze a wood shaving in flight!


More and more I realise how important it is to have good images of my work or of me making my work. It seems now more than ever the world is very visual and capturing good images are very important to me.

I have spent quite a while reading and practising with my camera and I bought my first DSLR a nikon D3200 about 2 years ago which although at first seems very complicated, it has drastically improved my images.

I now fell confident that I can get good still images of my work on a graduated background, like this box that I made recently.

Black and white ebony box with damson fruit wood collar and internal lid.
But I have always wanted to capture a long ribbon of shaving as it fly's off the gouge makes a beautiful pattern in mid air before finally landing on the workshop floor.

1st try

I tried my iphone 6 on burst mode and this is what I captured

Iphone 6 with burst mode
I like the image as it does show the movement of the shaving but it wasn't what I had in mind as I wanted to shaving to look frozen in time.

2nd try

Next I tried my nikon camera with a 35mm prime lens which is very fast at f1.8
Nikon d3200 35mm prime at F1.8, iso100, 1/100s
I was a bit disappointed with this image and didn't understand how I could make it faster, I automatically thought it was the frames per second that my camera could capture which is 4fps where as some of the more expensive DSLR can capture 8 or 10

I asked a woodturning friend who is a skateboard/bmx photographer and asked on a photography forum and was told it isn't my FPS its the shutter speed and I need to increase the amount of light or increase the iso which will increase the shutter speed (I am using aperture priority mode)

3rd try

Nikon d3200 35mm prime F2.5, iso3200, 1/3200s
At iso3200 I was getting a shutter speed of 1/3200 and now I was starting to get the results I wanted.

4th try


Nikon d3200 35mm prime F2.5 iso 6400, 1/2500
My 4th try is my favourite as it captures a full ribbon, at the higher iso my camera gets whats called noise which on a full screen basically looks a little grainy to me but on smaller images I don't notice it. What I don't understand is that the shutter speed at iso6400 was actually slower than at the lower iso? I will have to ask my friend about that :-)


here is my wife's favourite image from the 600 images that i took during the day


Saturday, 9 July 2016

woodturning box making videos

Woodturning boxes videos


Hello folks, here is a series of YouTube videos that I made on turning boxes on my lathe, I thought it was handy to put them all together here to bring more awareness for new turners and to be easier to point to one place that has them all in order.

The first video is all about the importance of rough turning


In this second video I make a simple turned box. 


In the third video I show how I make a hybrid box.


In the final video I show how I apply a book matched insert into a lid